Well we had a great first half to the Spring term and produced some great art and written work based around our class text – How To Train Your Dragon! The standard of writing is really improving and looks great displayed in our classroom!
We have also been looking at ‘Animals Including Humans’ in Science and looking at different types of animal skeletons and their purpose and comparing them to our own.
I hope you all had a great Christmas and New Year!
We had a great first week back and spent the week finding out all about Andy Warhol and Pop Art!
We created some of our own pop art using the same style as Andy Warhol. Can you spot some popular items you know?
What a great half term we’ve had! We’ve learned all about France and finished reading our class book – ‘The Nightmare Before Christmas’ which the children have loved! We have done some fantastic character descriptions and Tim Burton style art work based around the book and to finish it all off, we watched the film!
Take a look at our amazing work on display!
Keep practising those 3 & 4 times tables on TT Rockstars and have a fantastic Christmas! See you all in the New Year!
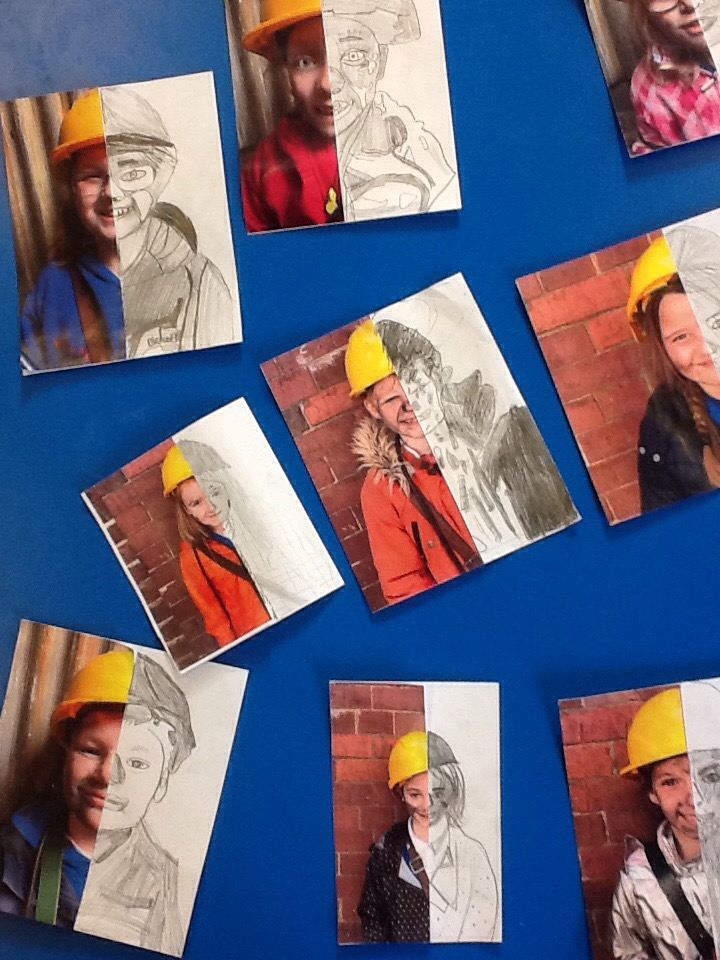
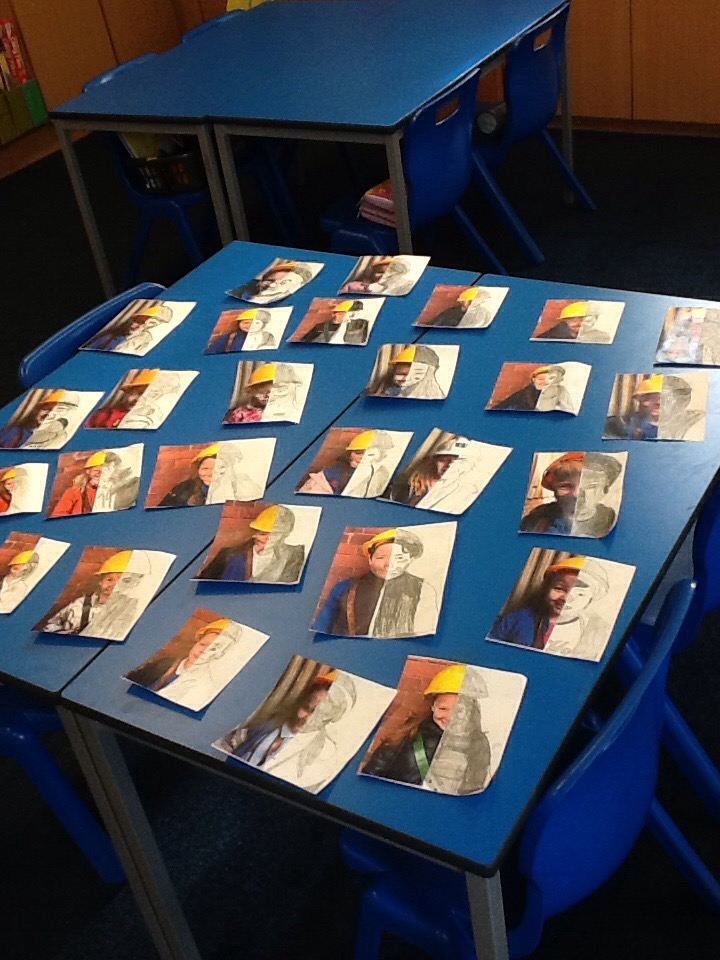
We have completed our artwork based on Pete Mckee portraits! We have loved working on computers to create digital images based on drawings.
We used paint software on the computer to edit the images on the laptops.
We began creating the digital images by drawing a self-portrait in the style of Pete Mckee. Then we scanned the image to the computer and saved the image as a monochrome JPEG. Then we added in colour using the paint fill tool and saved this.
We designed our own comic book panels to depict a gladiatorial fight in the colluseum. After looking at examples of comic books, we realised that the panels rarely just showed the protagonists as viewed from the side. The best panels did clever things like zoom in on the action and only show the most important elements in each scene.
We copied this idea by taking photographs of our friends at each stage of the ‘fight’ or finding photos online that matched what we wanted. Just like the comic books Mr Swallow showed us, we focussed upon what mattered in the scene and used framing or zooming to make the action seem real.
The final stage was to trace the photos we had arranged into a comic book style, adapting the clothing and props to give it the Ancient Roman look…see what you think.
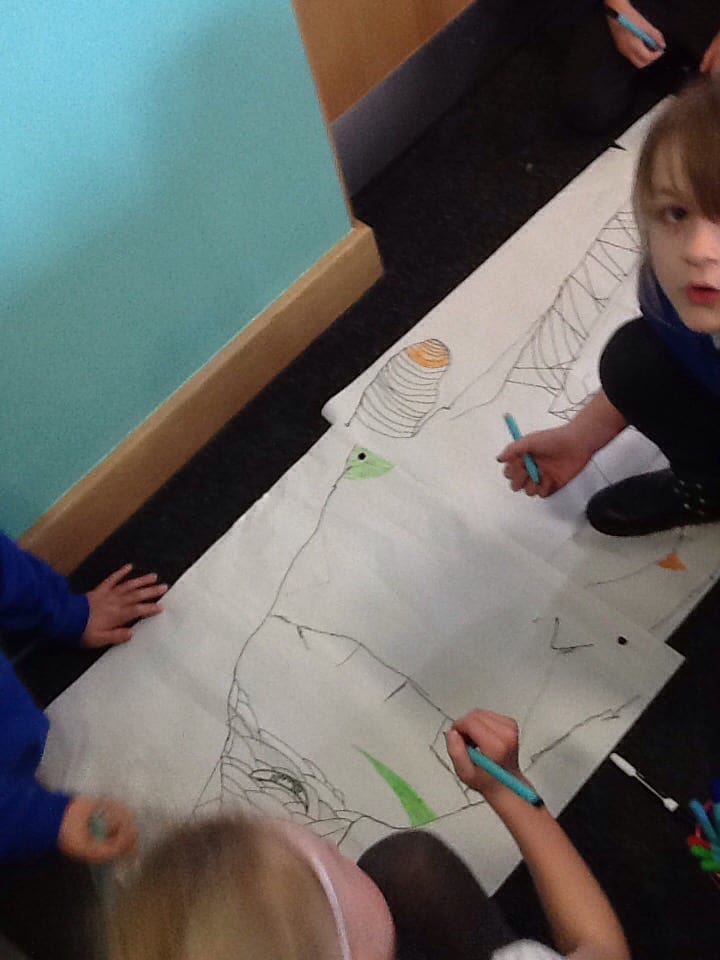
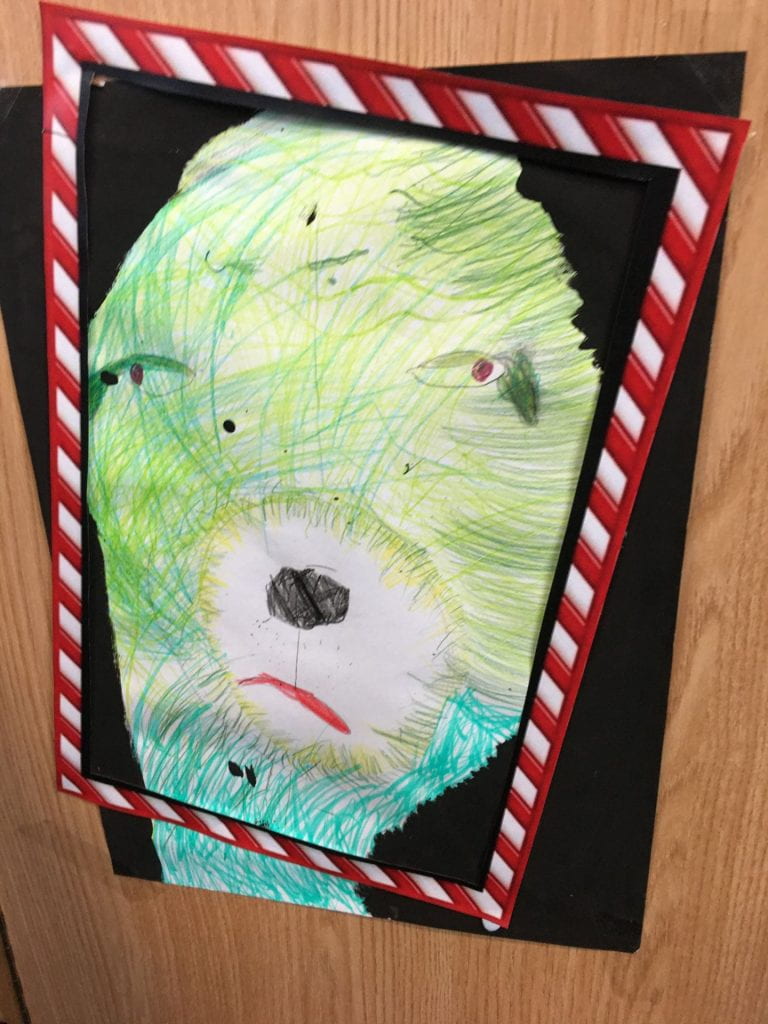
We have been using texture in our drawings to make that mean old grinch look his fluffiest and softest!
It was really important to move our pencils, paints, pens and pastels in the right direction for every stroke. We even added the background paint in the opposite direction so even the edges are fluffy!
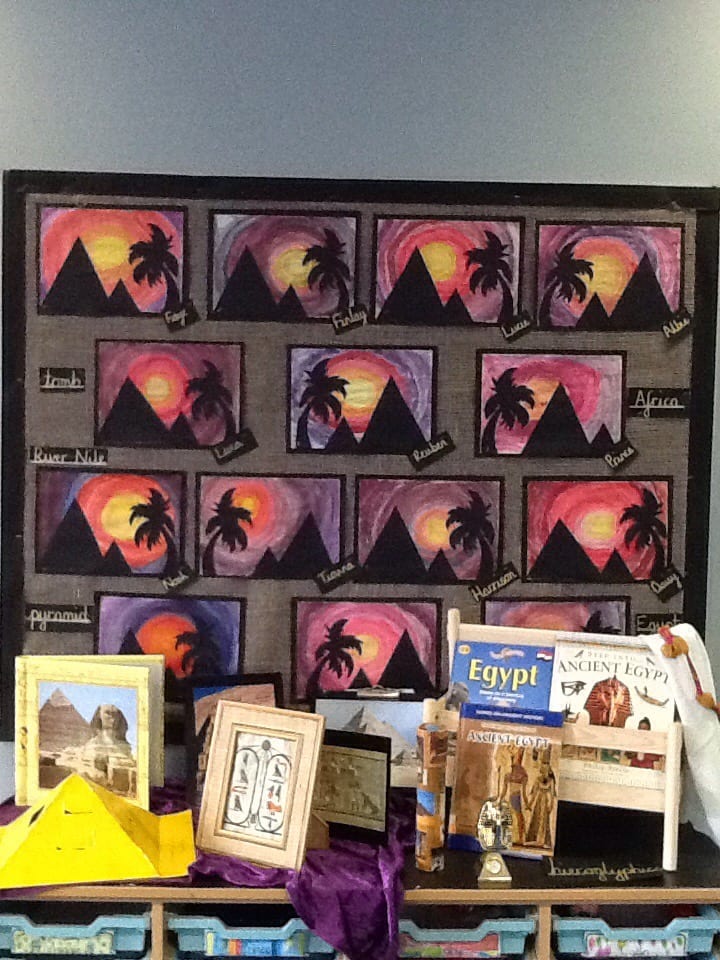
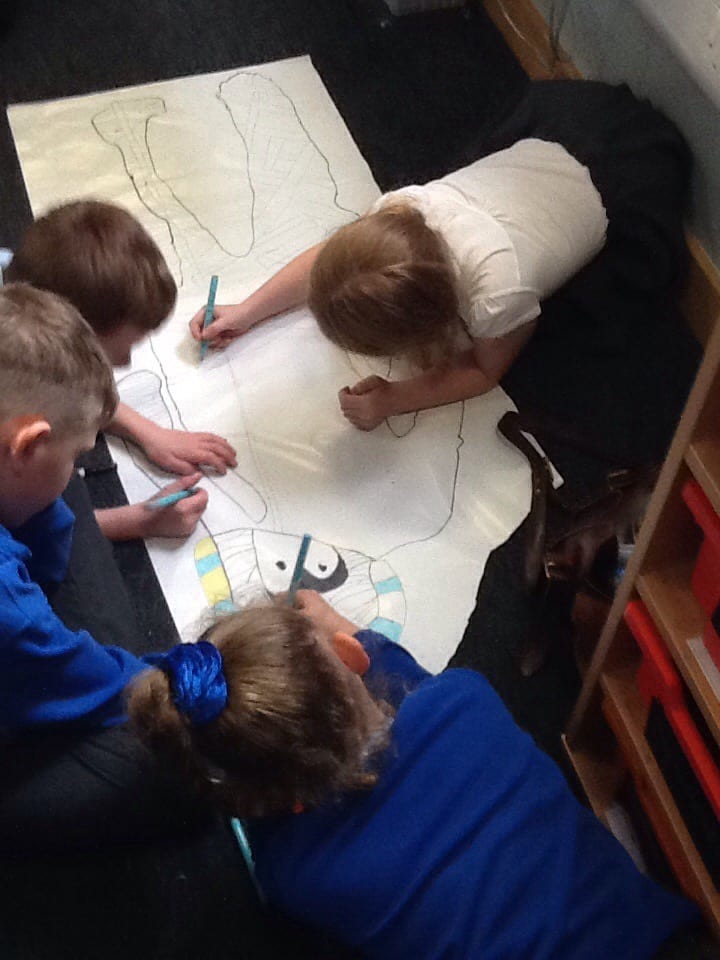
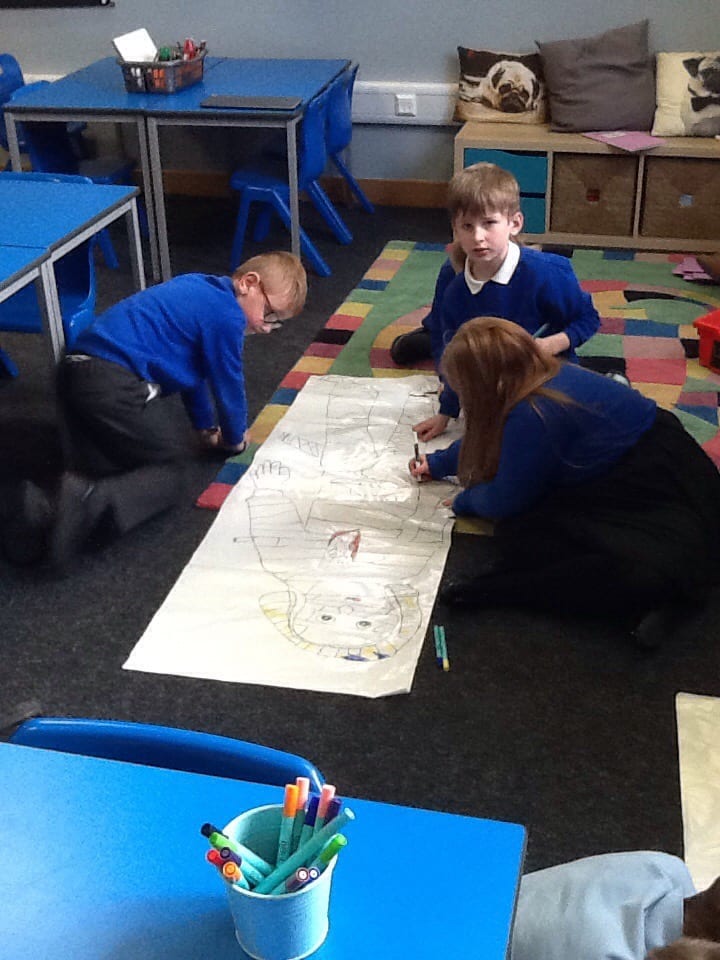
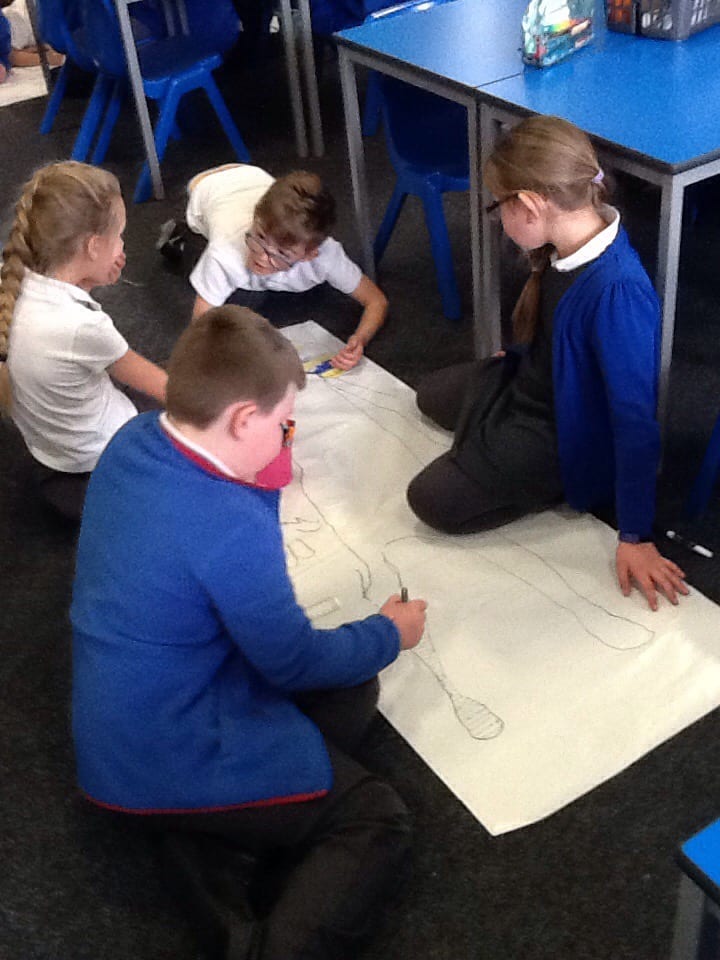
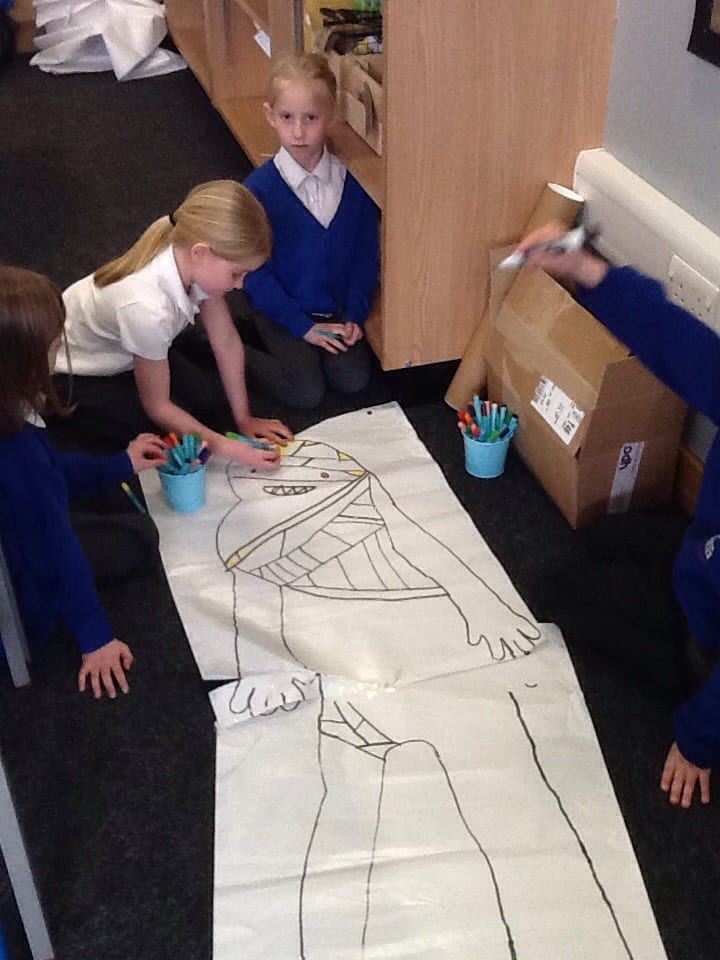
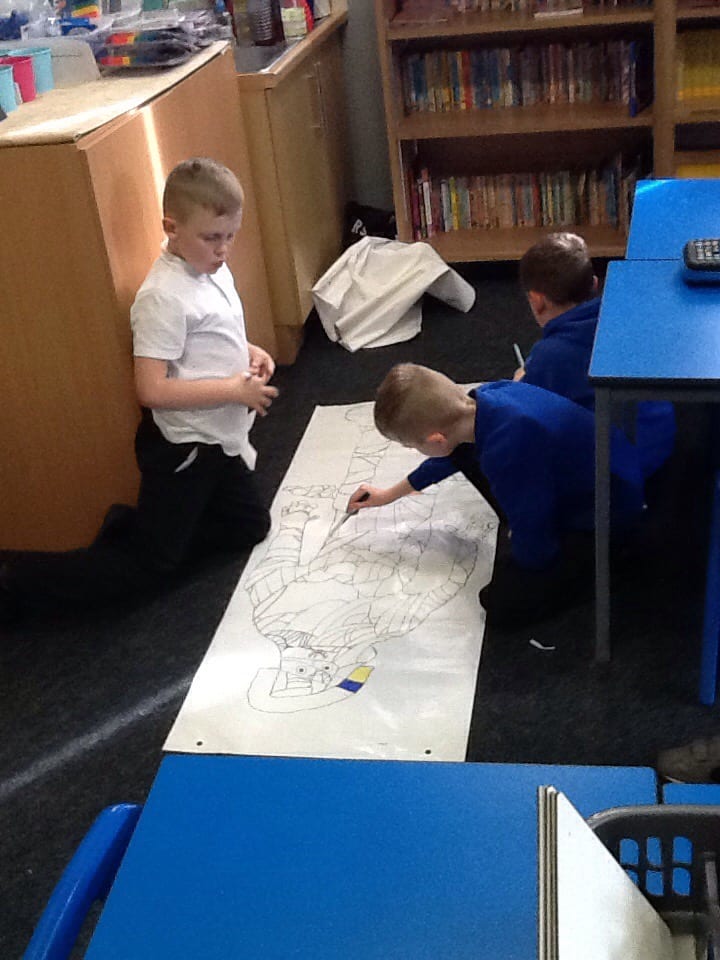
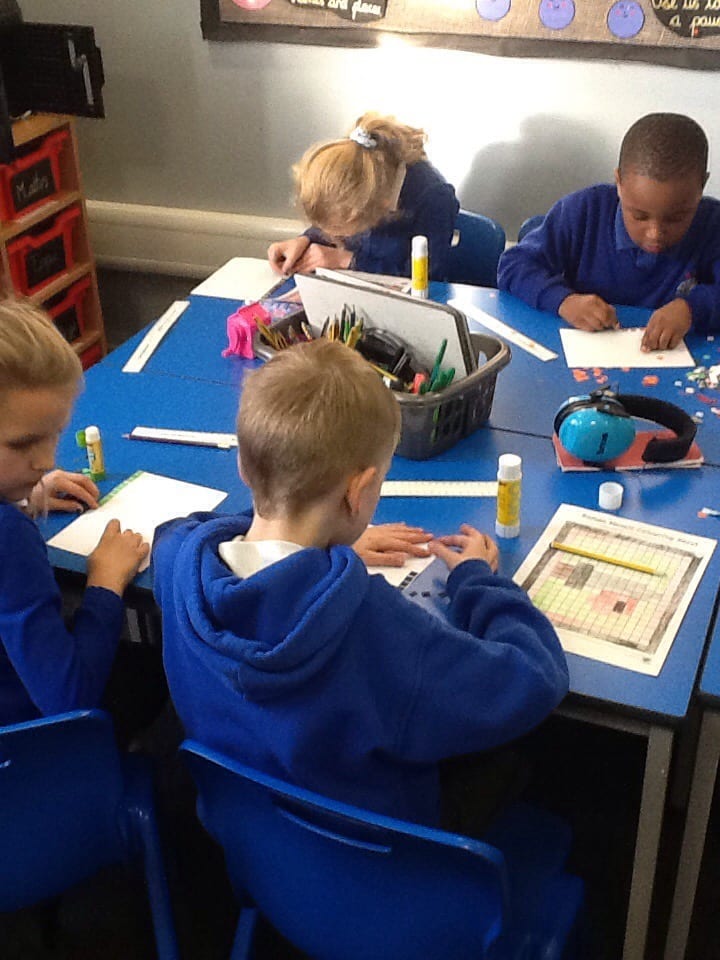
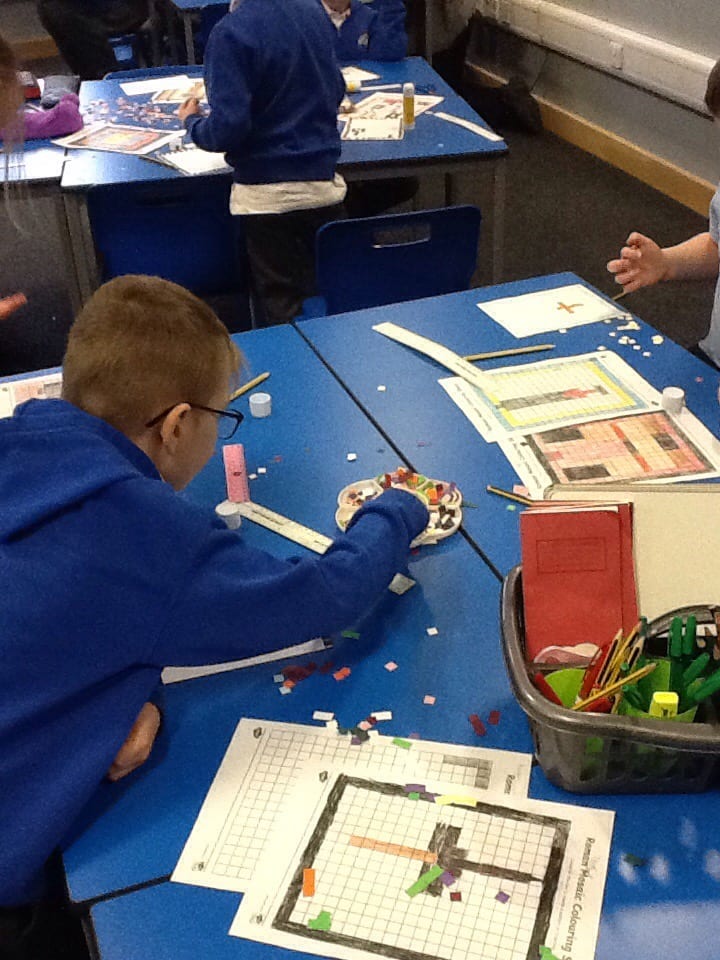
We recreated the elegant masks used to cover the faces of the pharaohs when they died. Mr Baikley wouldn’t pay for us to use real gold but we did a good job of making them look convincing…
We found out that the Ancient Egyptians worshipped certain animals. They treated some of them better than people! The animals were seen as special because they either belonged to a certain God or even that the God lived through them!
We found out that they even mummified some creatures so that they could be buried with their owners, to keep them company in the afterlife!
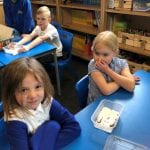
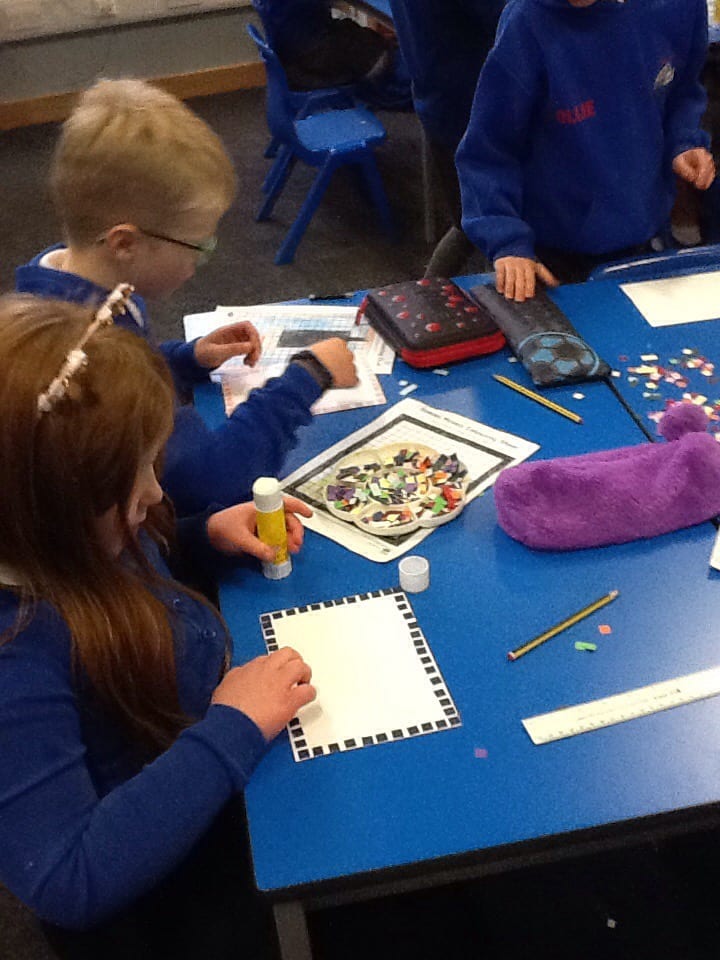
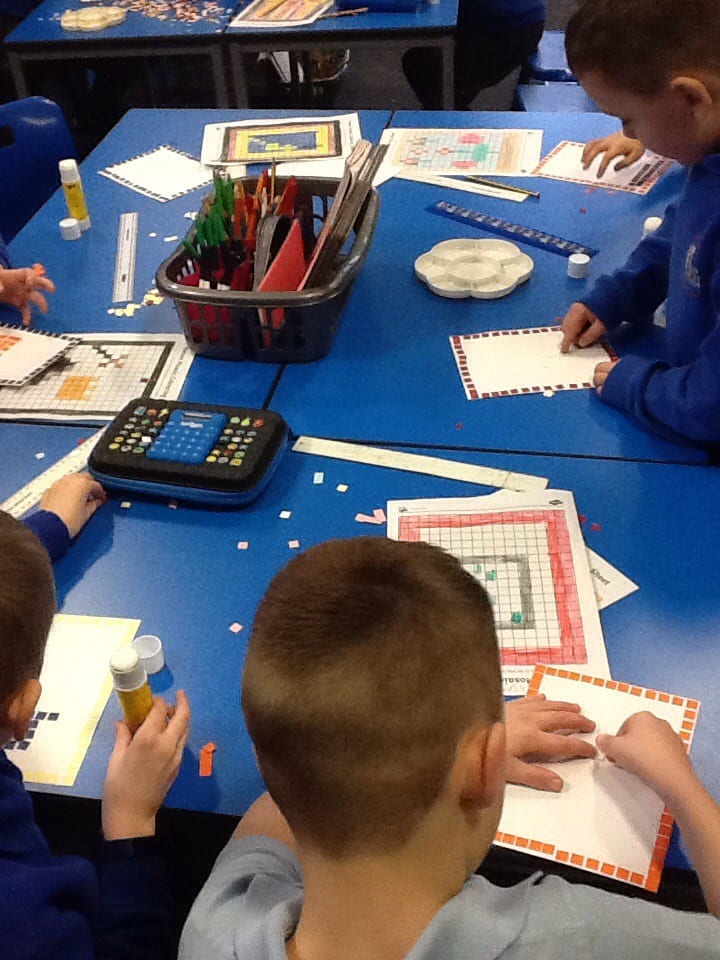
We took lots of pride in the work in our topic books, take a look at these faces of concentration…
As we get the rest finished, they will go on the wall too. Ask us our explorer names that we made up, they are very funny! I particularly like, Panther Lawrance, Sarah Sahara and Rocky Mountain Riley!
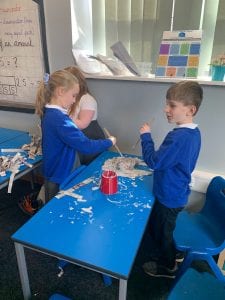
We have been very busy this morning making our own (extremely authentic-looking) Egyptian neck-piece. The children GOT THEIR OWN EQUIPMENT from our shelves, then COVERED THE TABLE THEMSELVES and finally, GOT THEIR OWN PAINTS AND CRAFT MATERIALS!
That’s how grown up we are in Year 3!
However, that is not the most impressive aspect of our lesson! We also tidied up ourselves! I didn’t help AT ALL! The kids put all of the resources away and tidied up the rubbish themselves. Take a look at our classroom after a full lesson of painting, sticking and glitter…
So, when they make one of these for their homework, they’ll be able to do the same at home!
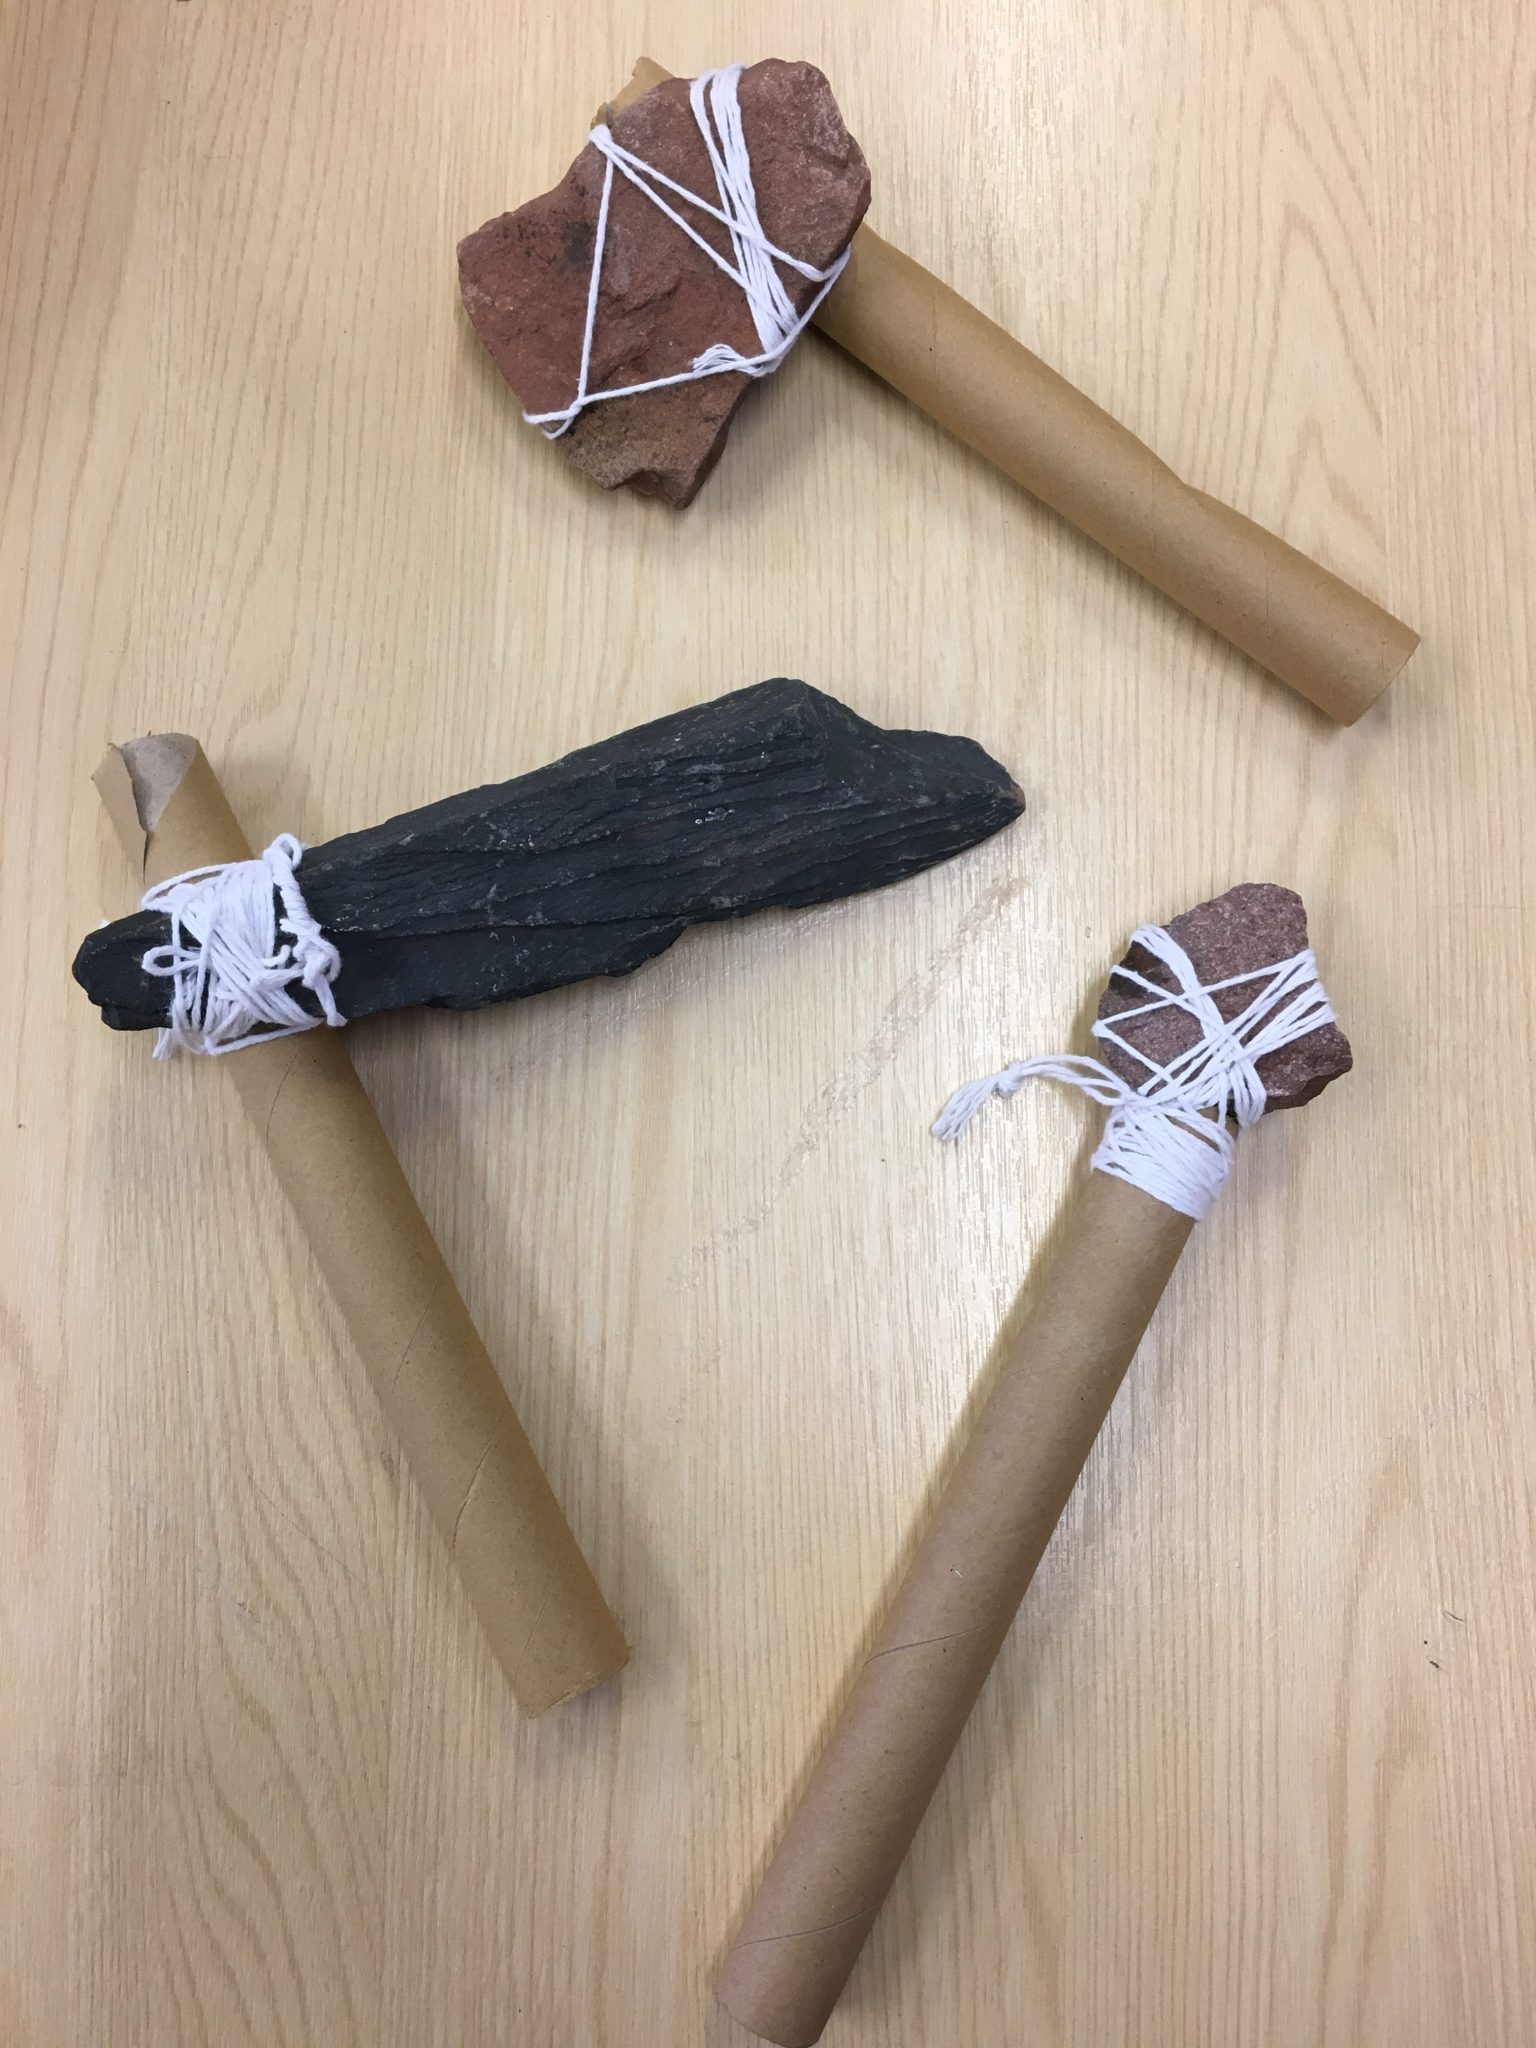
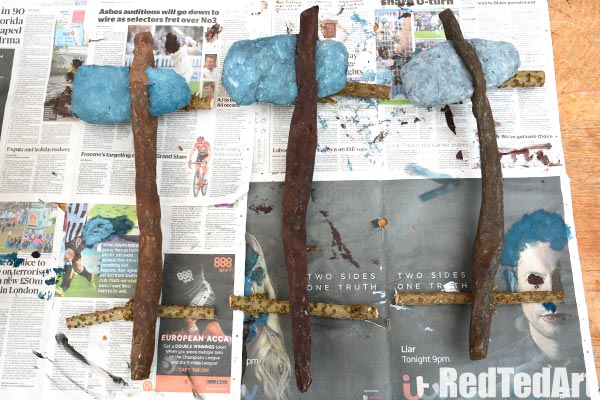
This week’s topic challenge is to create your own Stone Age weapon! Below is a brilliant video covering the Stone Age era, can you pick out any important information about the weapons?
During the Stone Age, people used sharpened sticks for hunting and protection purposes, they were vital for survival in the Stone Age. They were also used to hunt certain animals like wolves, foxes, bears, deer, hyena and much more.
Check out the weapons that have already been made… maybe you could do something similar?
You could design your Stone Age weapon on paper first, labelling the key parts of it. Next, you could manufacture the weapon by using cardboard, sticks, string, rocks or any other household items – just get your parents permission first!
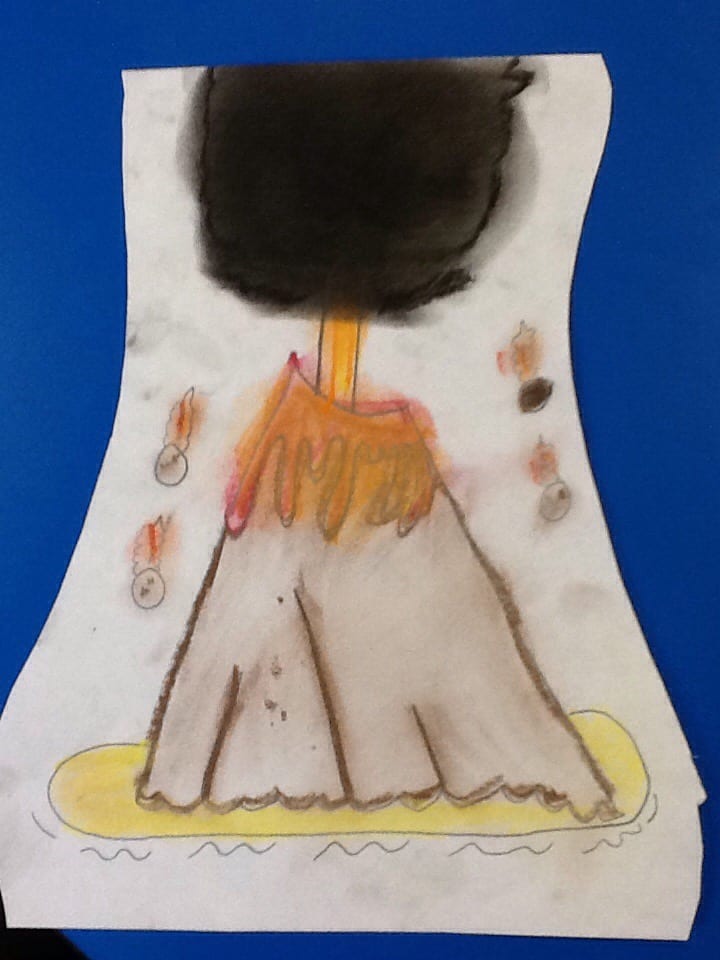
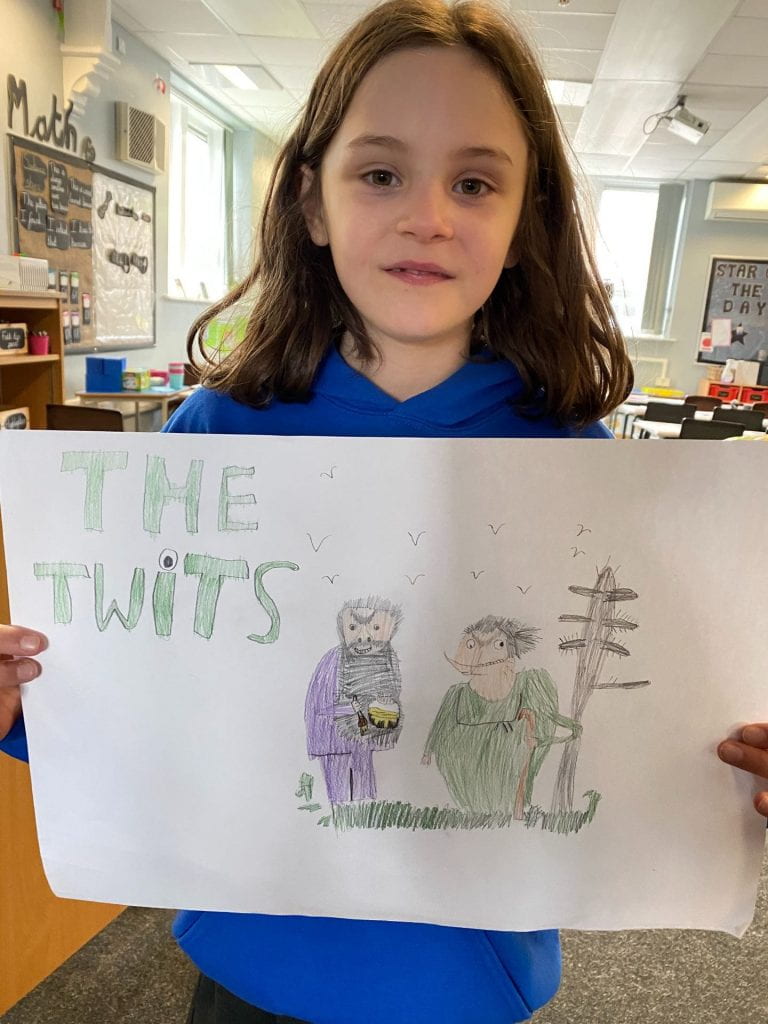
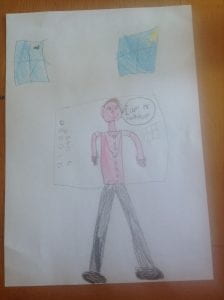
Good morning everyone, the work you have done on the art competition is fabulous. You have obviously spent a great deal of time working on these to create these images. I am so impressed and it has been an utter delight for myself and the rest of the staff to see these. They are so bright, colourful and detailed and using lots of different medium.
There have been so many to look through so it has been very challenging indeed to make a final decision. Well done to everyone who took part, however, there can only be one winner and that is Toby in Y4 for his lovely and accurate drawing of Mrs Buckley.
Thank you once again to everyone who took part and had a go, it has been so lovely to see your art work.
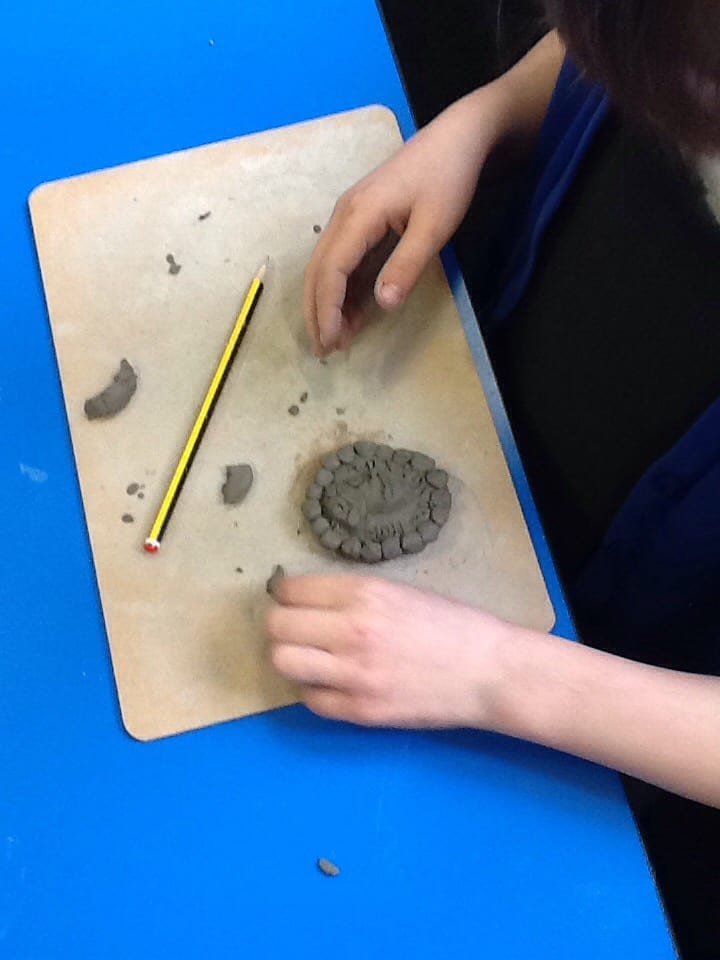
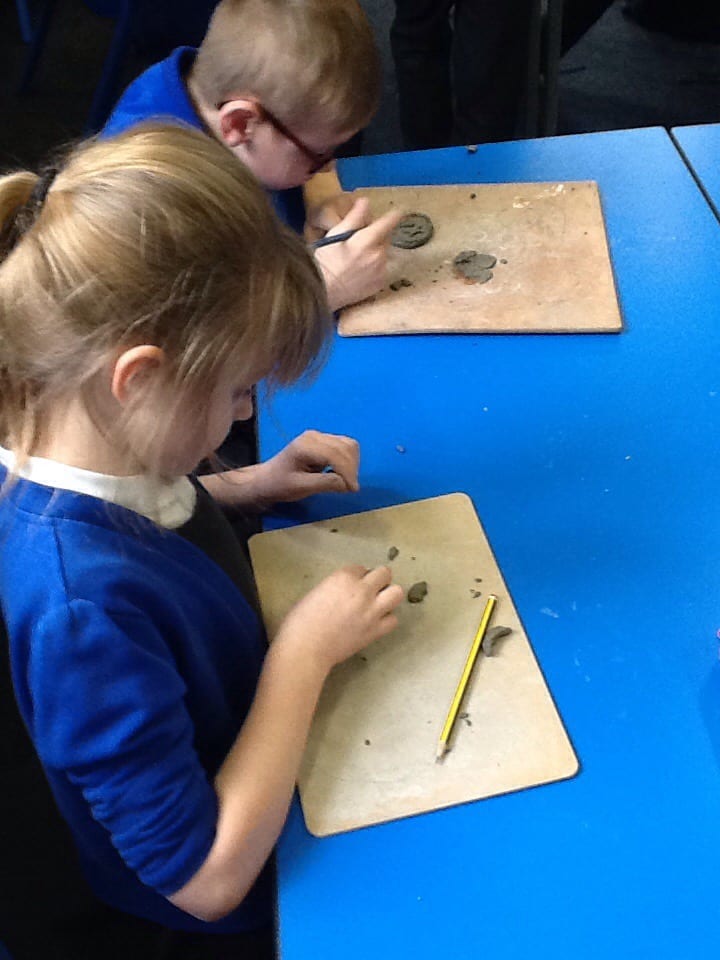
Cavemen decorated their caves and shelters with pictures of the animals they saw, the friends they lived with and hand-prints that can still be seen by us all of these thousands of years later.
I would like you guys to have a go at your own cave paintings. I have posted some links to sites online that have examples. There are lots of different ways of doing authentic-looking ones, including; working on old cardboard boxes, using hands in mud and painting with brushes. (So we don’t have to destroy your mum’s lovely wall paper!!!) As always, let me see what you get up to, I’ll be having a go at this with Syd today so I’ll do the same!
Household tips
I find cave painting so fascinating, there’s a special reason why the cavemen painted animals on the cave walls, can any of you find out why they did it?
Here’s a quick and easy tip that will make your cave art replicate the real thing…
Once you have drawn your picture, leave it to dry and spray over it with hairspray (don’t worry, you won’t use the full can so you’ll have plenty left to do your hair!)
After the hairspray has dried you need to cover it by using a tea bag. Here’s the trick – ASK A PARENT TO OVERSEE (I don’t want any burnt hands or tea stains in the house). Leave the teabag in hot water, let it cool down and then gently ‘pinch’ the teabag out and dab it over the artwork. Dip the teabag back into the water as it will start to dry when applying it to your artwork.
Leave the artwork to dry and you’ll have your very own cave art.
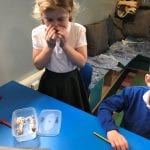
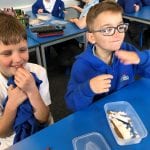
We created mummies fingers with hotdogs and almonds and placed them in bicarbonate of soda to recreate the Ancient Egyptian mummification process. We checked on them after a week and the smell wasn’t very nice at all. Check back next week to see if our experiment has worked.


 Zoom meeting ID: 93671558710


 .
.


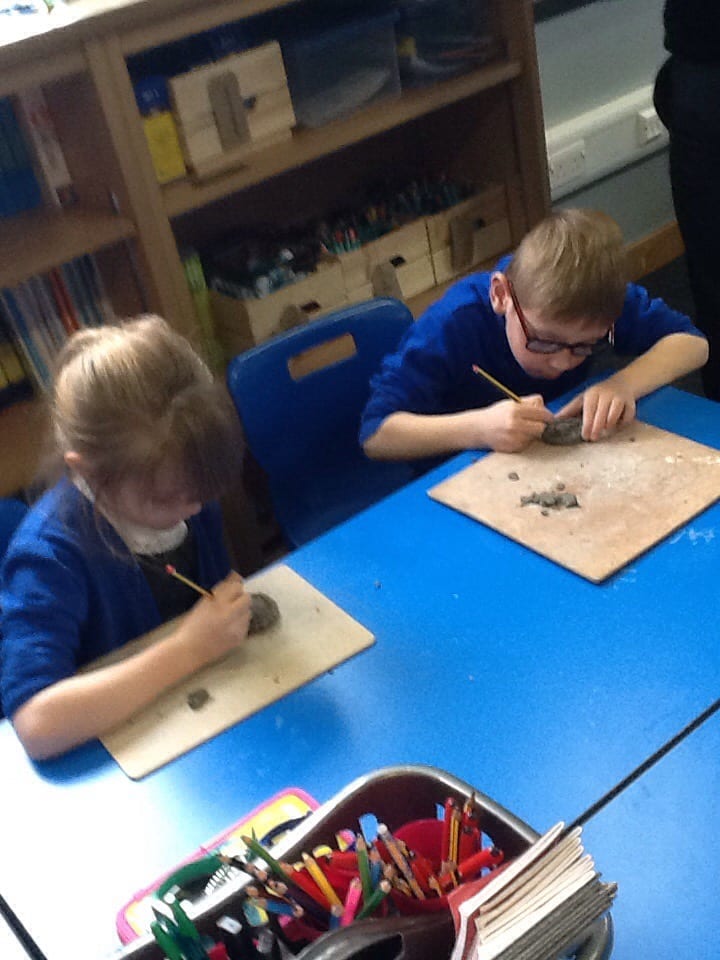
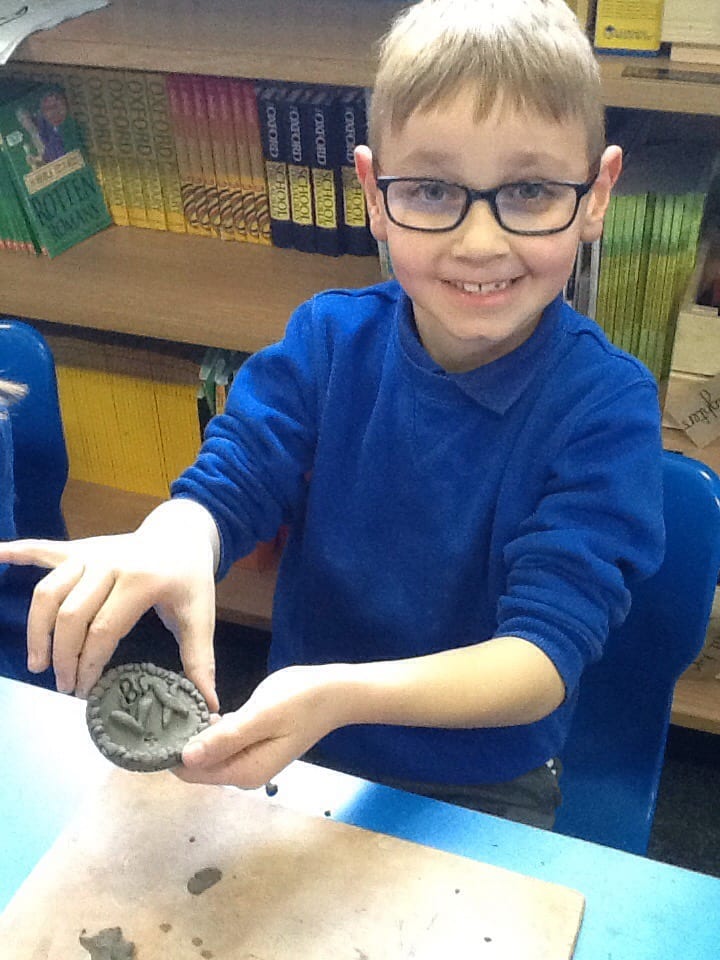
 In topic, we have been designing and creating our very own masks. It’s been messy!